How To Change Gutter On A Slate Roof?

Although sometimes it is heavy, it is necessary to do constant repair and maintenance to the gutters of our home, since the passing of the years affects the different aspects of the construction and the elements that face the outside, such as the facades and roofs, are the most punished.
After a certain time, it is likely that you will have to
change some of the ducts on the roof, even if it is a specific point and a
minimum effort, but you will have to get down to work. The best thing to do at
this point is to hire a company that is an expert in installing gutters.
The problems that can appear on slate roofs require a quick
and effective solution. If they are kept in poor condition, the only thing you
achieve is to accelerate the speed with which the system deteriorates, making
the repair necessary to return it to good condition more and more expensive.
Therefore, below we explain step by step how to change a
gutter on a slate roof.
Step by step on how to change
gutters on a slate roof
Measure the gutters
First, it is necessary to measure the length of the roof of
this type of material in which you want to change the conduit to calculate how
many meters you should buy. You have the option of buying several one-meter-long
pieces according to your needs and in different colors or ordering a continuous
gutter, manufactured on-site, from a specialist company. If you are going to
overlap the pieces because the distance is greater, you must also seal them and
add overlap in your calculations.
Prepare the workplace
The hooks and caps give the gutter stability and help
prevent the warping of the gutter pieces. To do this you can place the hooks
before making the change and raise the new one to the slate roof with some
rivets. The covers are simple to mount by applying a little pressure on the
sides.
Fixing of gutters
There are different ways to fix the ducts on the slate roof.
On a roof, you need to dismantle the first few rows of slates . To anchor, you
must use the long hook or snow hook, which is fixed directly to the wooden
batten or to the board. This is normally done on roofs that are kept in very
good condition.
Also, you can use the tailless hook or front hook. You must
place a hook every 50 cm to ensure the stability of the system. If you have an
overhanging eave so you can't attach the gutter to the wall, or don't want to
strip roof rows, to attach a long hook to the deck board, you can use a gutter
spacer. The spacer is fixed directly on the facade.
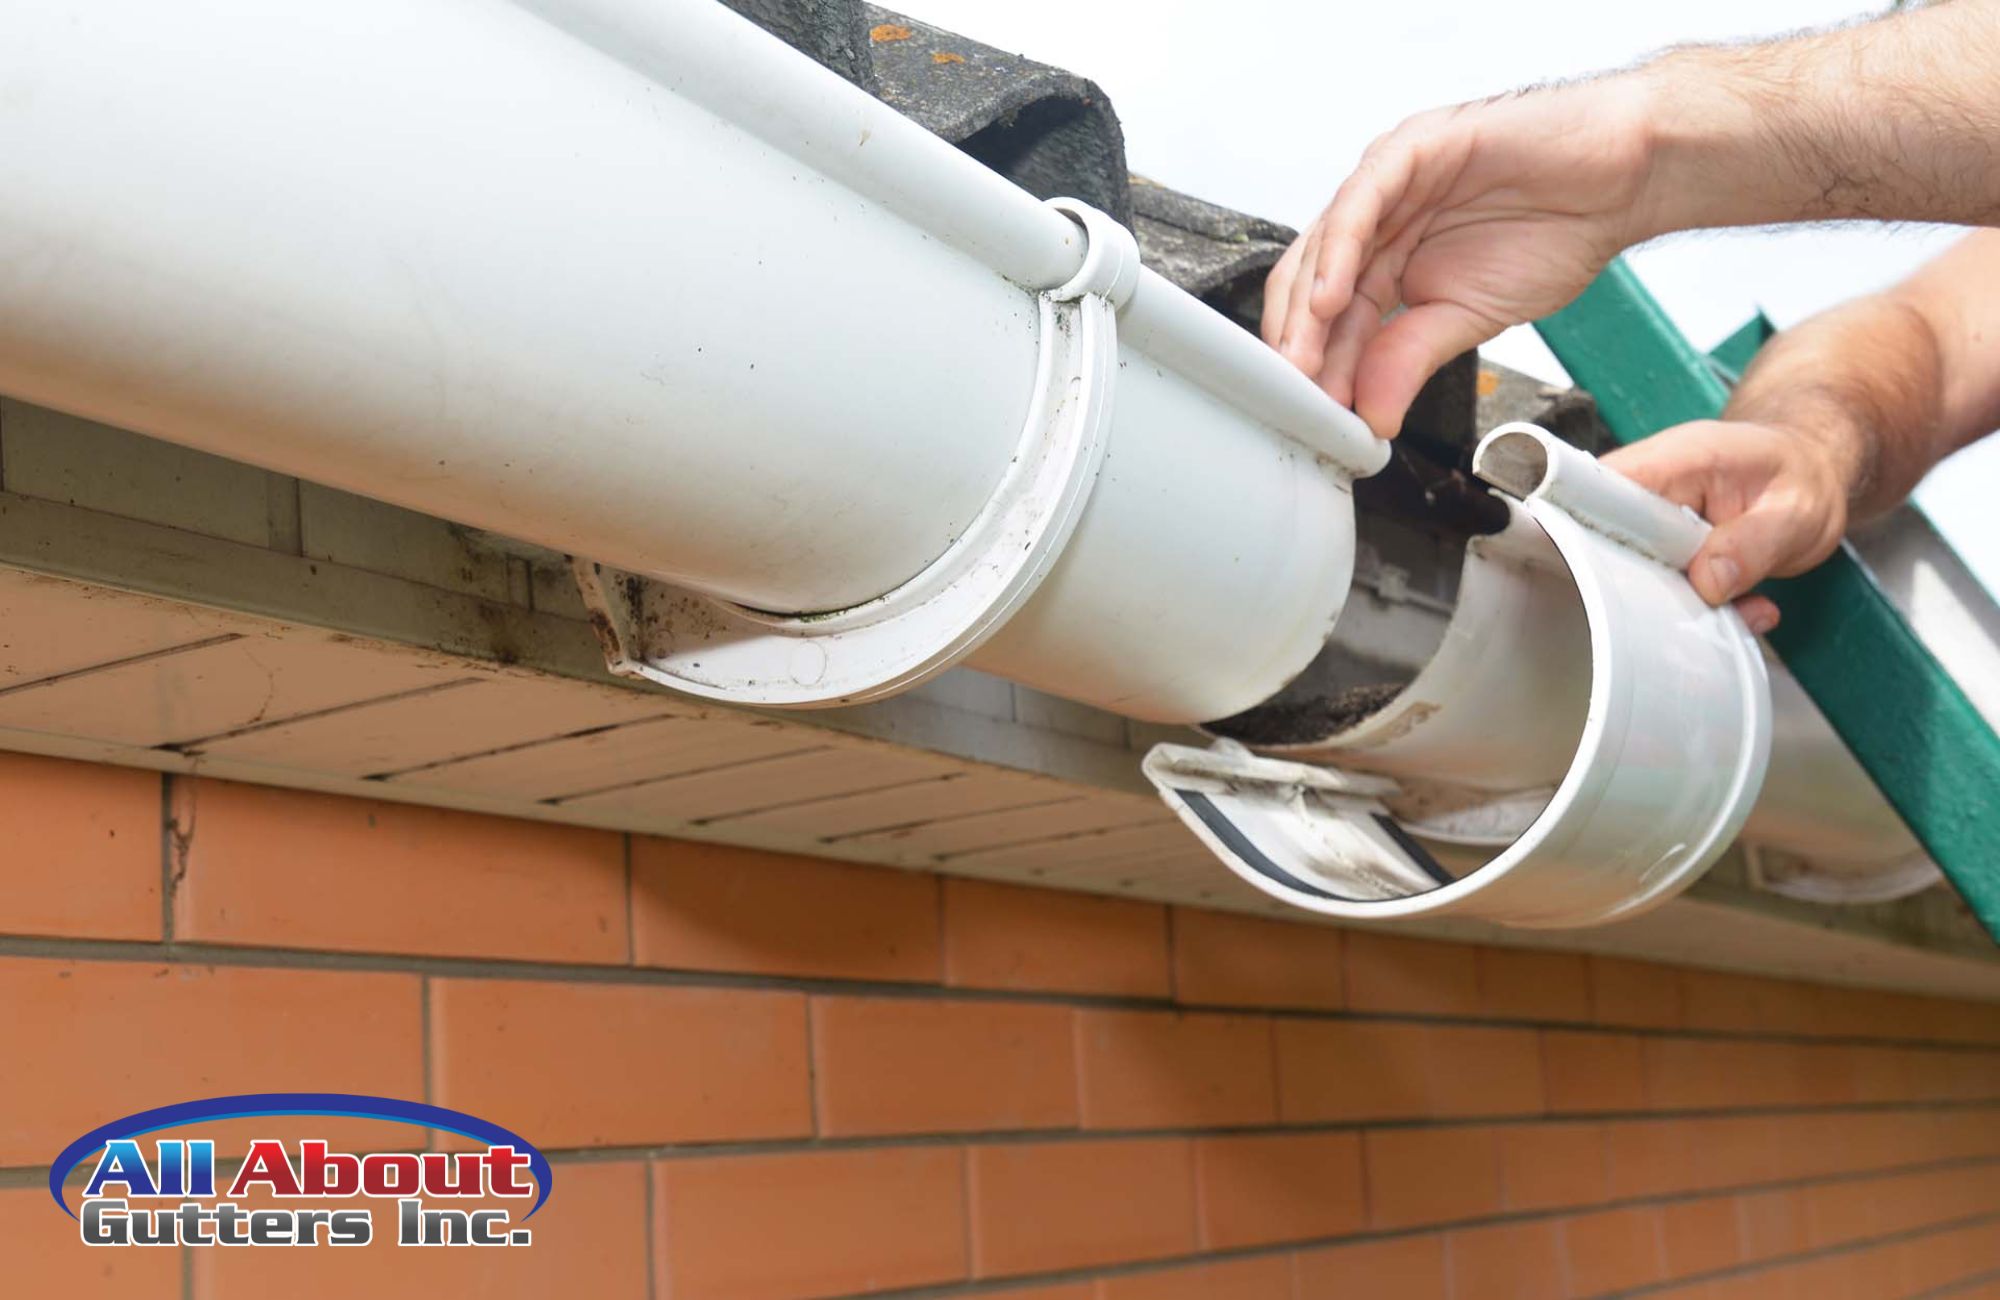
Insert the ducts into the downspouts
You have to make a hole in the new conduit . If you have a
drill to make cuts you can use the tool, if you don't have a drill you can make
the hole with tin snips . You also have the option of joining the two gutter
pieces right at an outlet, so you don't have to make any holes in the gutter.
Open the downspout a little and join the birth with the tube. Then you fix it
with a small screw. This option is very economical.
Divert the downspout
To deflect the downspout or change direction, you can use
elbows and offsets. The elbows also work at the end of the downspout pipe, in
order to direct the water to the side or forward and away from the facade. For
larger offsets you can combine pieces of the downspout or elbows.
Elbows and offsets feature a serrated aluminum seam. For
aesthetic reasons, this seam should face the roof, so there are different
designs depending on whether it is on the front or the side of the house. To
cut the pieces you need, there is a sheet metal scissor, although you can use a
radial saw. It is highly recommended to make the cuts directly at the
installation site.
For the corners
If you have a corner, you will need a square to join the
pipes of the storm drainage system. To use this piece you need to cut the end
with sheet metal snips so that it fits in the bracket, then you fix the channel
in the bracket with a small screw and seal well inside with polyurethane putty.
To join multiple downspouts
If you want to join several downspouts into just one, you
have to use a collector. This is responsible for collecting different channels
and joins them in a drain with a single outlet. They can be in aluminium, with
different finishes.
For spike supports
Duckbill brackets are pieces that allow you to attach the
new gutter directly to the slate tile . The bracket is fixed on the cover with
its tapping screw. Once the ducks are placed, you can fix the channel with its
front hooks on the duckbill support of the cover.
Place protections
Finally, you have the option of protecting the downspouts
with a protector, especially if you have chosen aluminum gutters. This prevents
cars, bicycles or walkers from hitting the descent and deforming it. Since
dented downspouts get clogged very quickly, it is advisable to protect them
from the ground. They last a long time and can be painted in the color of the
roof. You can also use aluminum or stainless steel guards.


Comments
Post a Comment